
Pre-trip Checklist
1. Batteries, power banks, chargers and travel adaptors
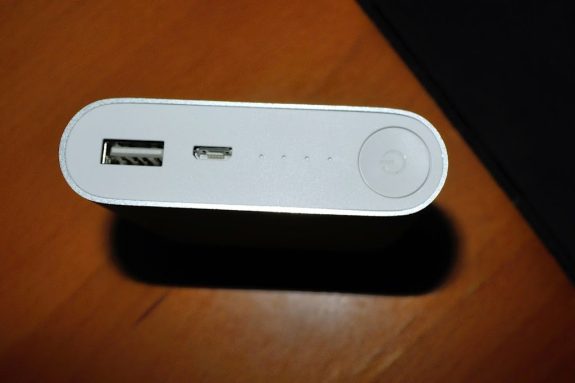
A portable power bank may prove immensely useful on an overseas trip, especially if you’re intending to rely on GPS extensively or if you intend to use your smartphone as your only camera.
A large 10,000 or 16,000mAh power bank would be really convenient when travelling in a large group, since you will only need one or two of these to fulfil the power requirements of your group.
In my opinion, Xiaomi still offers the most value-for-money portable chargers. While they’re no longer as cheap as before, at least you have some form of assurance that the power bank is unlikely to blow up in your bag or in the middle of the night while charging. All of Xiaomi’s power banks offer relatively quick charging, are able to be recharged fully over a full night, and have safety features built in. On our grad trip, we discovered that one of our Lightning cables were faulty; it was only because the power bank shut off automatically as a safeguard did we realise the cable was at fault.
Apart from power banks, make sure you have a decent phone charger as well as the necessary cables. Depending on the country you’re going to, a travel adaptor may be essential. Do note that different countries have different voltage requirements. While most phone chargers should support both 110V and 230V voltages, check beforehand (on the back of your charger) to be doubly sure.
The same goes for camera batteries or other kinds of batteries you intend to bring. Make sure you have enough juice to last the day.
Note that all batteries must be carried in as hand luggage only. Check your airline’s restrictions on lithium batteries; Singapore Airlines’ list is here.
2. Data
You can either choose to rent one of Changi Airport’s Wi-Fi router or get your own prepaid data plan overseas. For Asian countries, the Wi-Fi router may be a compelling option; for Europe, we suggest getting a prepaid data plan instead, as per day rental charges are quite expensive. For our 11 days, we settled on a 15 Euro (about S$23 at the time) prepaid plan per person, which gave us 2GB of data each. That was more than enough for surfing the net, uploading some Instagram shots and navigation.
Do you really need data? I think so, unless the places you’re going is covered with Wi-Fi. As much as I hate to admit it, we’ve become really reliant on GPS. If you’re okay with paper maps and simply asking people for directions, feel free.
3. Money Belt
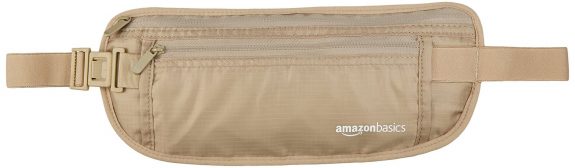
A money belt is a little pouch that you wrap around your waist or sling around your neck, under your shirt. You will use this to keep your valuables, like money and passport. A money pouch makes it much harder for a pickpocket to loot your valuables. I suggest keeping only things that are both important and which you do not need to access very often. Having to reach into your money pouch every now and then defeats the main purpose of a money pouch–for others to not know that you are even wearing one.
For me, I kept a couple hundred Euros, a few credit cards and my passport in my money pouch. I kept my phone (I brought a standby phone, instead of my then-new Galaxy S6 as a further safeguard) and about a hundred Euros (the amount of money I expected to spend that day) in my wallet.
Do you need a money pouch? While I was never pickpocketed in the end, you might feel more assured wearing one. A money pouch won’t add much weight anyway, so if you’re hesitating, just get it first and decide whether to wear it later.
Money pouches can be found easily at travel sections of hypermarkets (like FairPrice Xtra and Giant), at departmental stores like Takashimaya, OG and TANGS and at luggage shops. You might want to wear an undershirt (such as one of Uniqlo’s AIRism collections) and put the money pouch over that undershirt, because if you have sensitive skin the material of the pouch may make your skin feel itchy after a while (especially with perspiration!).
4. A Small Bag
Certain museums and attractions have restrictions on backpacks (they don’t want you knocking into things!), so it’s best to carry a small bag which you can sling around your shoulders.
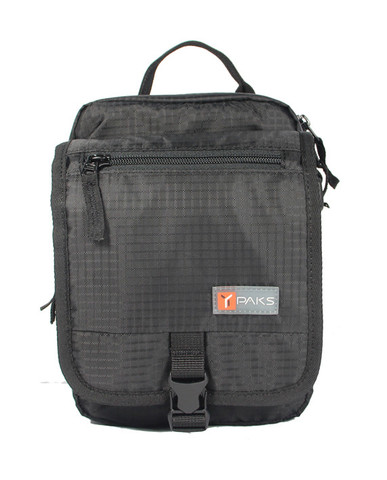
In my case, I bought a Ypaks bag at a Takashimaya travel fair shortly before my trip. The exterior was weatherproof, and it had an expandable base in case you needed to stuff more things in it.
With this bag, I managed to fit in my Nikon J1 mirrorless camera, a water bottle, spare batteries and SD cards, my phone, passport and some money. Short of a money belt, carrying your valuables in such a bag is pretty useful as you’ll be able to keep it in your view all the time, unlike a backpack. Though, if your bag has a quick release buckle, make sure you tape it up. Otherwise, a pickpocket could easily release the buckle and take everything with them…
You can also use a similar-sized camera bag as a makeshift travel bag, as I did on my recent trip to Bintan.
5. Ziplock bags, foldable bags and carabiner hooks
Ziplock bags are useful for compressing clothes in tight luggage, so make sure you have spares. You may consider getting bags of different sizes; they’re useful for keeping documents and money waterproof too. The best place to get ziplock bags would be at any SKP outlet.
Foldable travel bags may also prove useful towards the end of a trip, when you need an extra bag to place your souvenirs or other things you’ve bought from overseas that you can’t fit in your luggage.
Carabiner hooks will likely come in handy as well; you can use them to hook bulky things like a travel pillow or shoe bag to the side of your bag/ luggage.
In summary…
My ‘travel kit’ ended up like this: a medium-sized luggage to check-in, a backpack, a money belt, and a small travel bag.
If you’re travelling many places, try to keep your luggage small. For one, they’re easier to wheel around and carry up the stairs. Next, it is easier to fit them on overhead luggage racks in trains. From experience, large luggages don’t fit on overhead racks.
Despite having a small travel bag, you will notice that I still brought a backpack along. Well, this was mainly to store things that didn’t quite fit on my luggage, as well as to provide a place to put all my carry-on items. I put a small lock on the zippers of the backpack for added security. I didn’t really bring the backpack out, though, it was usually left at ‘home’ with the luggage.
Hopefully, you’ll find the tips I’ve shared useful. Feel free to leave a comment below if you’ve anything else to share!