
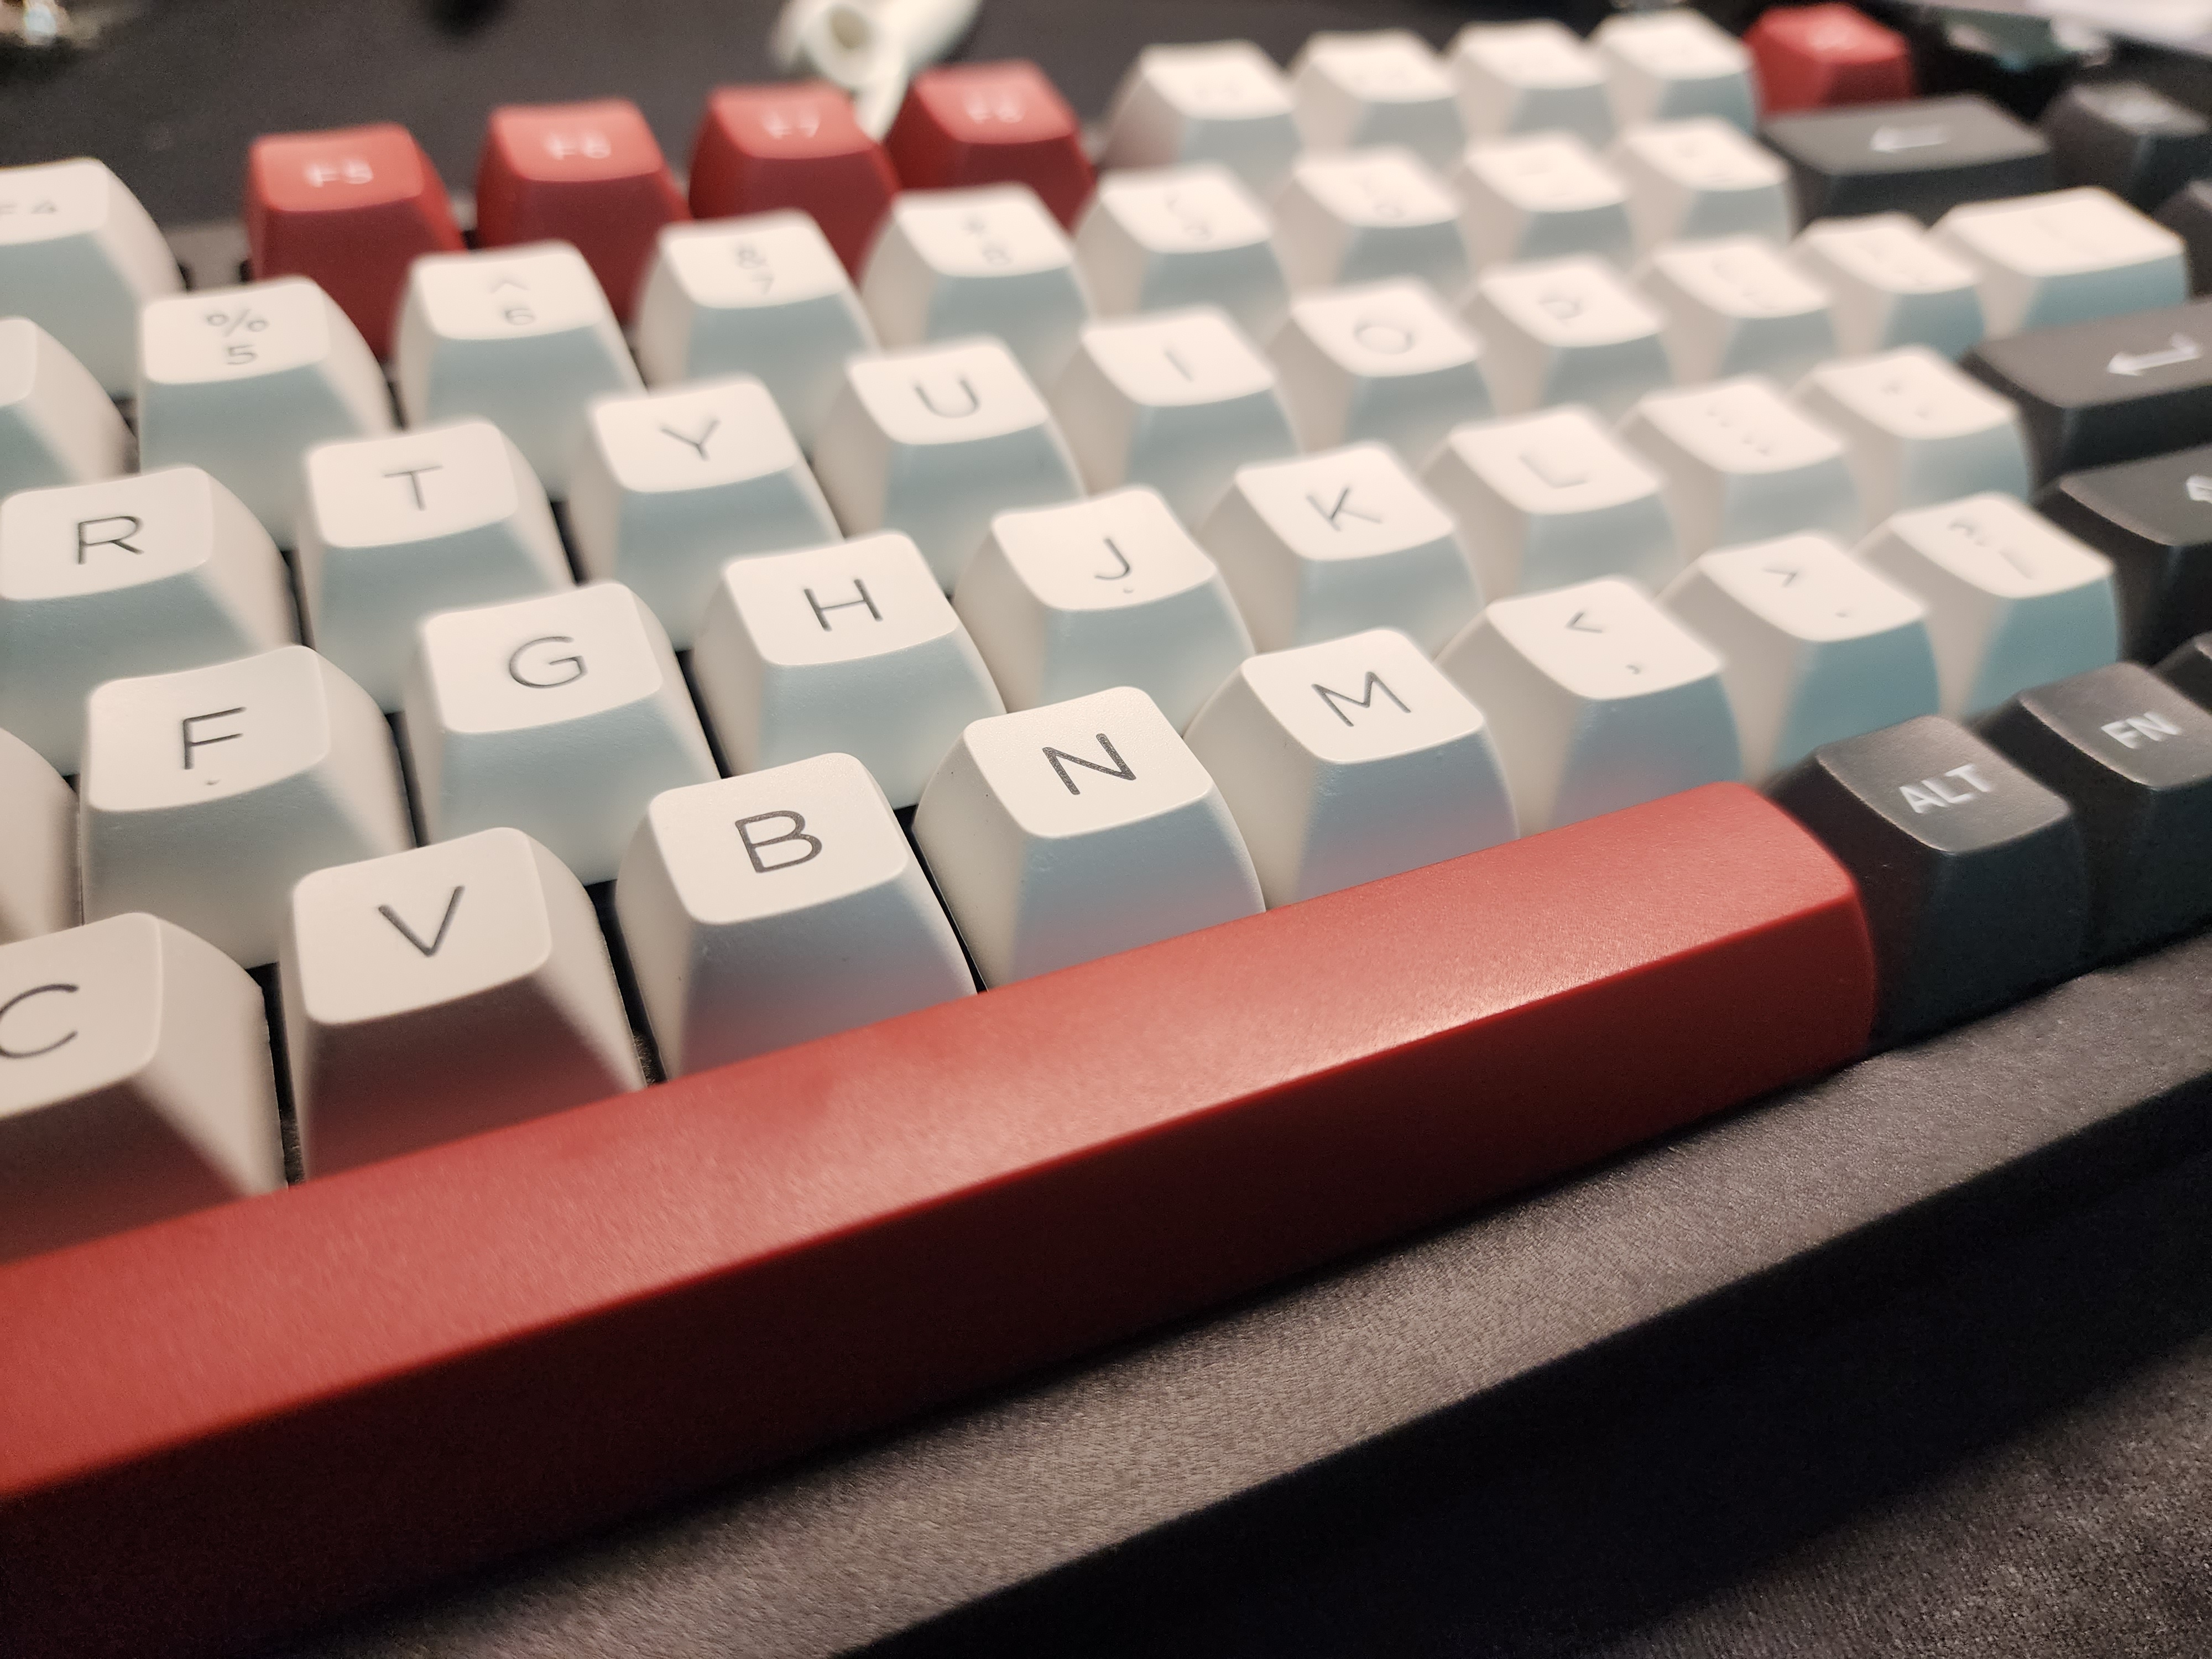
The default Glorious Core software may be decent, but unfortunately there are certain functionality, such as reprogramming the Fn layer, and customising the rotary encoder functions, that require you to flash the QMK firmware or one of its variants.
What is QMK and Vial?
QMK stands for “Quantum Mechanical Keyboard” and is in essence, a custom firmware that you can flash on support mechanical keyboards to unlock additional functionality. You can re-program keys, program RGB lighting etc. with a custom QMK firmware. However, such custom functions are ‘hard-coded’ in the firmware itself. You have to make the relevant customisations, compile the firmware and then flash it to your keyboard. If you’ve already programmed a key and want to modify it thereafter, you would need to amend the script, re-compile the firmware and then re-flash it on your keyboard.
To make things easier, there is another software called VIA (probably named after its creator, Olivia), a variant of the QMK firmware which builds on QMK and allows users to modify certain functionality (such as the re-mapping of keys), through a user interface without needing to re-compile and re-flash firmware each time. As an analogy, QMK is basically your GMMK Pro without any added software, and VIA is like Glorious Core. To enable VIA support on a QMK firmware, you simply need to compile QMK with an added flag. You will generally also need to make sure that there is an available keyboard definition on the VIA keyboard repository (alternatively, you could supply your own, but you would need to reload the keyboard definitions every time you run the app).
Vial comes in as an alternative to VIA. VIA, until recently, was not open source. Vial, on the other hand, was created as open source right from the start. It also circumvents the requirement for there to be an available keyboard definition on the repository, as the keyboard definition is stored locally within the firmware itself.
In the context of the GMMK Pro, Vial also offers full RGB support and the ability to re-program the rotary encoder on-the-fly, which is something currently unavailable within the VIA software. Hence, I sought to get Vial up and running on the GMMK Pro to get most functionality out of my keyboard with minimal programming knowledge (as would otherwise be required with QMK). If you’ve come across this article from Google, chances are that you’ve tried searching for an installation guide but found nothing conclusive, or that the information is already somewhat outdated. A large shout-out goes to u/kill3rb00ts, whose article was the most helpful of the lot, though it is slightly outdated as there is now full support for the GMMK Pro available on the Vial repository now and you will not need to go through as many hoops as before.
I’ve therefore written this step-by-step guide, with the objective of making it as easy as possible to someone who knows nothing about programming, and as ‘evergreen’ as possible such that it should not become outdated throughout the remaining life of the GMMK Pro. Note that this guide assumes that you are using Windows.
Prerequisites
To get started, you will first need to set-up/ install the following:
- A GitHub account — this is recommended for you to pull files from the Vial GitHub repository later on (otherwise, you will have to download the files manually)
- QMK-MSYS — this provides the command line interface for you to run QMK commands. Alternatively, you can also get started using Windows Subsytem for Linux but using QMK-MSYS is much faster and I will use this for the purpose of this guide.
- QMK Toolbox — this is the tool that enables you to flash the Vial firmware on to your GMMK Pro.
Step 1: Set up access between QMK-MSYS and GitHub
After setting up and installing the above, the first step is to allow QMK-MSYS to communicate with your GitHub account so that you can download the Vial repository seamlessly.
To do this, run QMK-MSYS. Next, key in the following command, followed by the enter key:
ssh-keygenYou should thereafter receive a prompt as to where you want to save the rsa key paid. Press enter to save in the default location. You should also be asked to enter a passphrase. Key in a password which you can remember.
Next, open the location where the rsa key is saved (by default, it should be at C:\Users\<Username>\.ssh\id_rsa.pub). There should be a long string of text beginning with “ssh-rsa”.
Now, go to your GitHub account, click your profile icon on the upper right hand corner, then click “Settings”. On the next page, click “SSH and GPG keys” from the left sidebar and click the green button which says “New SSH Key”. Copy and paste the entire string of text from the id_rsa.pub earlier, including “ssh-rsa”, and click “Add SSH Key”.
Step 2: Download/ clone the Vial repository
Next, back in the QMK-MSYS application, run the following command, followed by the enter key:
git clone git@github.com:vial-kb/vial-qmk.gitYou will then be prompted for your passphrase. The passphrase would be the same as the one you have keyed in during Step 1 earlier.
What this command does is to download, or clone the Vial repository to your hard drive. The default folder in which the repository will be saved should be C:\Users\<Username>\vial-qmk. If you would like to specify another folder, you can simply specify the folder name after the command, like this:
git clone git@github.com:vial-kb/vial-qmk.git C:/path/to/folderDo note that you will need to use the forward slash instead of backslash.
Step 3: Setting up the QMK build environment
Next, we will setup the QMK build environment, which is the pre-requisite for compiling the Vial firmware. To do this, we first need to enter into the folder where the Vial repository is saved on your hard drive. Assuming you chose the default settings, you can simply type in the following, followed by the enter key:
cd vial-qmkIf you saved the files in another folder, you can simply type something like cd C:/path/to/folder instead.
Then, run the following command:
make git-submodulesThis step will download the relevant QMK libraries required for you to compile your Vial firmware. After this is complete, run the following command:
qmk setupThe setup should complete without errors, though there might be a warning that “minor problems were found”. This is not an issue.
Step 4: Compile the Vial firmware
To compile the Vial firmware, run the following command if you are using the ANSI keyboard layout:
qmk compile -kb gmmk/pro/rev1/ansi -km vialWhat this command does is to compile the QMK firmware using the vial keymap based on the GMMK Pro ANSI keyboard layout. If you have an ISO keyboard layout, replace “ansi” with “iso” and you should be good to go.
To understand how this works (feel free to skip ahead to the next step — this is totally optional and just a “FYI” for those who are interested), the vial keymap basically enables Vial-specific features to enable the compiled firmware to be compatible with the Vial software. The vial keymap comprises of the following:
- a config file (config.h) specifying certain Vial parameters
- a rules file (rules.mk) telling the compiler to enable Vial support
- a keymap file (keymap.c) telling the compiler that by default, which command should correspond to which key (e.g., that Fn + F3 runs the calculator by default)
- a keyboard definition file (vial.json) telling the compiler which key corresponds to which hardware switch on the keyboard
For the GMMK Pro, the Vial keymap is available in the keyboards/gmmk/pro/rev1/ansi/keymaps/vial folder. You don’t actually need to modify anything further as someone has already done the dirty work of mapping the GMMK Pro and that dirty work is now part of the Vial repository (the wonders of open source software!). However, if you want to change the default commands of certain keys, for example, you can edit keymap.c.
The differences between a QMK, VIA and Vial firmware are pretty much as follows:
- Both QMK and VIA fimwares can be compiled using native QMK source code (so, for Step 2, instead of cloning the Vial repository, you can clone the QMK repository instead), whereas Vial requires you to compile using the Vial source code (although the compiling steps are similar, since Vial is basically just a modification to the QMK source code)
- The difference between a VIA firmware file and a QMK firmware file is just an additional flag to enable VIA support. While VIA requires a keyboard definition file, this is loaded into the VIA software itself and not the firmware of the keyboard.
- The difference between a Vial firmware file and a QMK firmware file is an additional flag to enable Vial support, plus the keyboard definition file which will be flashed into the firmware file.
Vial uses VIA keyboard definitions as a starting point, so as long as your keyboard definition is available in the VIA repository (or uploaded by someone else), it should be very easy to get Vial going.
Step 5: Flash the firmware
After the end of Step 4, the firmware file should now be residing in the same folder as your Vial repository (i.e., vial-qmk by default). Now, you need to run QMK Toolbox, and open the firmware file.
Next, you need to put your keyboard into bootloader mode. To do so on default GMMK Pro firmware, you have to unplug your keyboard, then hold the Spacebar and B keys while plugging in the USB cable into the keyboard. You should then see a message pop up in the QMK Toolbox that a ST Microelectronics controller has been connected.
Now, just click Flash, and you should be up and running in less than thirty seconds.
You’re done! Now, just run Vial and you should be able to remap keys to your heart’s content through the user interface. Do note that the rotary encoder isn’t enabled by default in the Vial keymap — to restore default volume down/ volume up functionality, just click on the circle thing in the Vial software, then below, under “App, Media and Mouse”, select Vol – and Vol + respectively.
Perfect guide Reuben, thanks for posting this. I did not fancy following Reddit threads trying to work it out 😅 For such a popular keyboard that’s officially supported and has been around a fair while I can’t believe there’s so little information about flashing Via on it. I hope more people find this guide!
Just as Lewys said, this guide was perfect for me, got it up and running pretty quickly. I’ve tried so many other guides and either they were too overwhelming or simply uninformative/assumed you were already familiar with the whole process.